
December 19th 2007
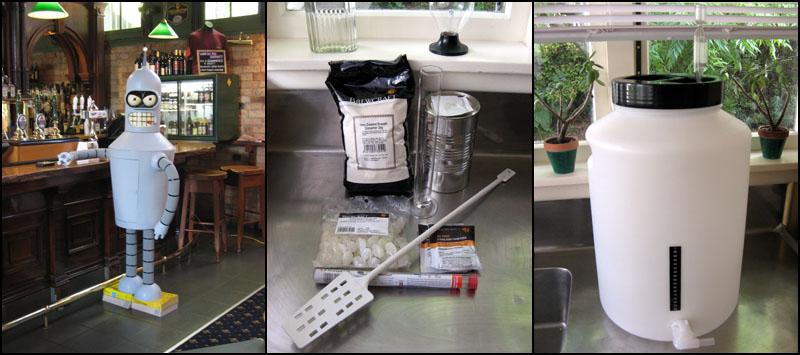
Figure 21. Bender doing beer research, beer brewing kit and fermenter.
Finally the time has come for Beer Brewing Bender to fulfill his destiny. Beer making time!
The beer we are making is made from a kit bought from the local brewing supply place (Brewcraft in Mt Eden http://www.ebrewcraft.co.nz across the road from Galbraiths pub http://www.alehouse.co.nz). The different things you need are shown above. First Bender and I had to go do some research at my favourite local pub, Galbraiths. He is looking pissed off because 1, I didn't get him a drink before taking the picture and 2, he needed phone books to stand on to reach the bar. His extending legs were broken that day.
In the middle picture above you can see most of the things you need to make beer.
Sugar. Usually you'd use dextrose but in this case I am using something called an enhancer. This is a mixture of sugar, malt and hops. This is supposed to give the beer a fuller flavour than just sugar alone.
Tin of beer concentrate and yeast. These come together as a package.
Sterilising power sachets. You mix these with water and use them to clean the fermenter, bottles and all the equipment you use.
Hydrometer and measuring cylinder. This is used to measure the specific gravity of the beer.
Mixing spoon.
Sugar tablets. Used when bottling to add the last bit of sugar to the beer before conditioning.
Fermenter. With airlock and temperature strip.
One of the most important things is everything has to be very clean. Wash everything then carefully sterilise everything that will come in contact with the brewing beer.
When everything is sterilised we can start mixing the ingredients.
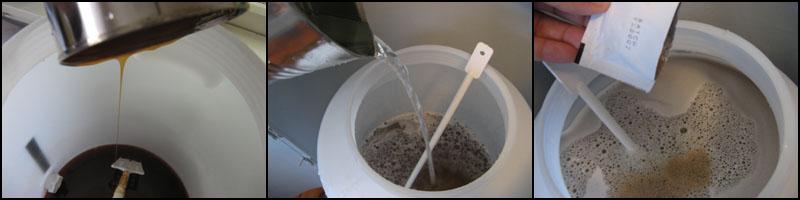
Figure 22. Mixing up the beer.
First you need to sit the can of concentrate in hot water for 10 minutes or so to make it more runny. Even then it is the consistency of honey. It also has the taste of beer flavored honey. In fact for a second I was seriously considering buying some just to spread on my toast in the mornings. Woo! Beer for breakfast!
Once the can has heated up you transfer it into the fermenter. Next you mix up the sugar/enhancer with 2L of hot water. Sugar will dissolve easily but the enhancer you need to mix in carefully to avoid it forming lumps. I mix it a bit at a time in the tin the concentrate came in then transfer that to the fermenter. Once the sugar/enhancer is thoroughly mixed in with the concentrate you fill up the fermenter to just under 23L with water. You must make sure the temperature is between 18-28C to avoid killing the yeast which is added next. The yeast is simply sprinkled into the top of the barrel then mixed in.
I mixed the concentrate and sugar with the fermenter on my kitchen bench. Then I placed the fermenter inside Bender's body before adding the rest of the water.
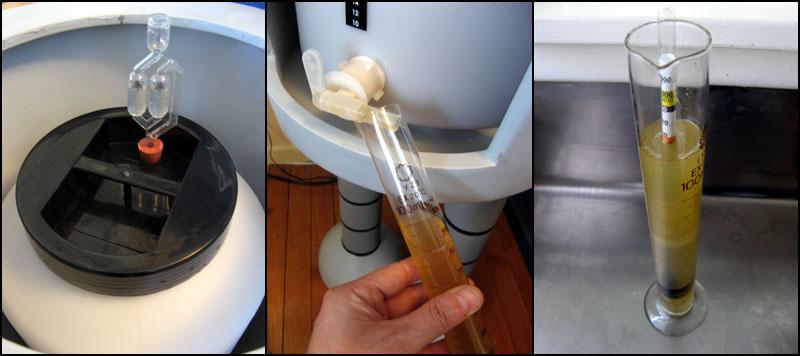
Figure 23. Closing up the fermenter and taking the original SG reading.
Once all the water and yeast is added you put the lid onto the fermenter. This has a rubber seal to give a good airtight fit. In the top of the fermenter is a hole to which is added an airlock. The airlock is a bent plastic tube you half fill with water. As the beer ferments it gives off bubbles of CO2 gas. This gas bubbles out of the airlock but no air can get in.
In the second picture I am taking a sample of the mixture before any fermentation has begun. If you take a specific gravity (SG) reading at the start and another at the end of fermentation you can calculate the alcohol content of your beer. I did feel a little dodgy taking that sample given where the tap is. Bender didn't seem to mind. With a sample in the measuring cylinder you float the hydrometer in it. This floats at different levels depending on how much sugar there is in the mixture. As the yeast converts the sugars into alcohol the SG changes. You can tell when the fermentation is over when the SG value remains constant. As the beer is fermenting you take periodic readings to follow it's progress.
The initial reading I got was a SG of 1.034.
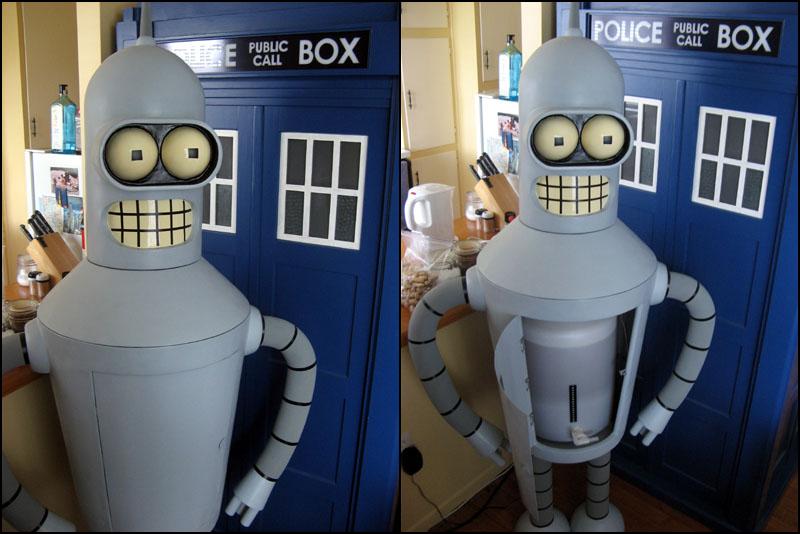
Figure 24. Bender with brewer inside.
I will add further updates as the brewing continues.
December 22nd 2007
Bender isn't happy. For some reason the beer isn't bubbling. This could be due to several things. 1, the mixture was too hot before adding the yeast and it died in the hot conditions. Or 2, the airtight fermenter isn't actually airtight. I took a SG reading though and it has dropped. From 1.034 to 1.014 so it seems something is happening. The instructions say you bottle when the reading has been stable at around 1.006 for a few days. I shall keep going and see if it does indeed continue to drop. I also checked the seal around the lid of the fermenter and found that where the two sides of the moulded plastic container join there was a ridge of plastic. This might be preventing the 0-ring in the lid from sealing properly so I carefully cut this away with a sharp knife. Hopefully now the container will pressurise correctly.
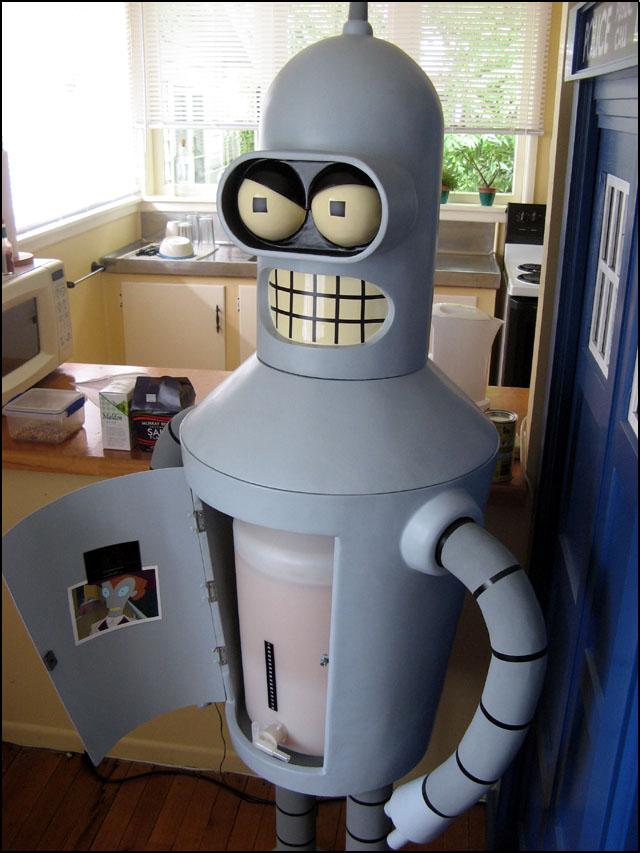
Figure 25. Lack of bubbles make Bender an angry Bender.
More updates to follow.
December 30th 2007
Bender's bubbly personality finally came through! After making sure the fermentor was sealing correctly the beer did start bubbling through the airlock. This continued for quite a few days but has now slowed considerably. A SG reading shows the beer is not quite ready for bottling by giving a reading of 1.008. Bottling has to be done once the beer goes below 1.006 according to the instructions otherwise there is a chance the bottles will over pressurise when the final amount of sugar is added and they could explode! I will give it another day or two then take another reading. If it has stopped changing I will bottle it despite the reading being a touch high.
January 2nd 2008
The day finally arrived. Bottling day! The SG readings finally settled on 1.006 (just) and stabilised so today I bottled the beer.
The procedure is something as follows:
1. Clean and sterilise the bottles. I use 750mL plastic PET bottles. A batch of beer will fill 30 of them.
2. To each bottle add sugar. I use sugar drops and add two per bottle (see below). The additional sugar is to allow for extra fermentation in the bottle. This is what causes the beer to have bubbles.
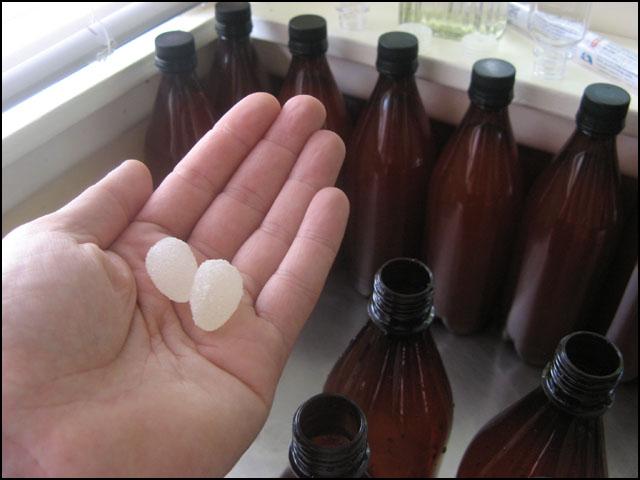
Figure 26. Sugar drops to carbonate the beer in the bottles.
3. Remove the airlock from the top of the fermenter to allow the beer to flow freely.
4. Warm your hands (Not normally necessary but Bender insisted on this step before letting me near his tap).
5. Slowly, with each bottle tilted to avoid frothing, fill each bottle from the tap.
6. Tightly cap each bottle.
Once all the bottles are full and the caps tightened we are almost done. Now we must wait. The bottles must be stored somewhere warm for 5 days. This is to allow the secondary fermentation to take place. This pressurises each bottle with CO2 gas. After the 5 days you move the beer somewhere cooler to allow it to mature. You can supposedly start drinking the beer after a week but generally the longer you leave it the better. The plastic bottles however probably limit it to a year or so before they start leaking.
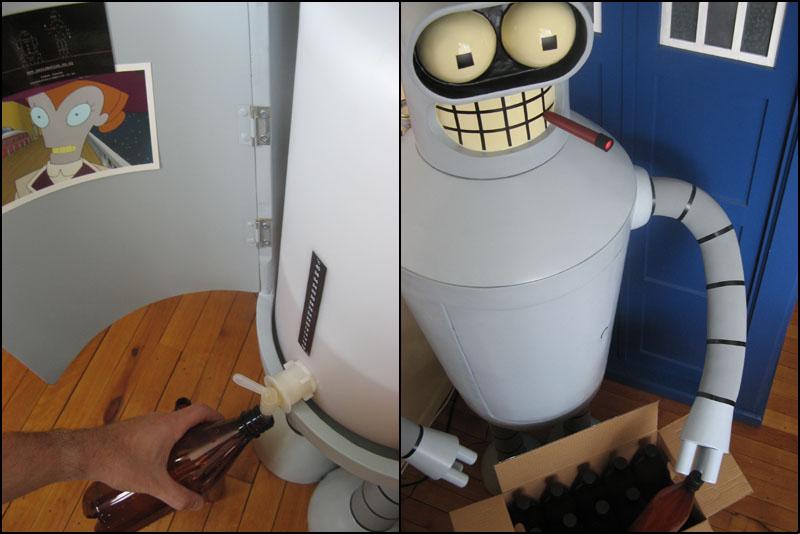
Figure 25. Bender looking pleased with himself for a job well done.
By the way I did have a little taste of the beer before I bottled it. It wasn't totally unpleasant. It tastes very green but it had a fair amount of body. Yeasty with maybe just a hint of Mom's Old-Fashioned Robot Oil!
January 7th 2008
The bottles have now all pressurised in the warm and are ready to be put away in the cool until ready to be tasted! As one final finishing touch each bottle was given it's own Bendërbrau label. Many thanks to my friend Jen who did the graphics for the labels for me.
I did have a little problem printing them out however as my crappy HP printed decided to die. I 'fixed' it however.
With my oxy-acetylene welding/cutting torch (http://www.youtube.com/watch?v=Z5V8sKjMUF0)!
And I tell you, that felt great!
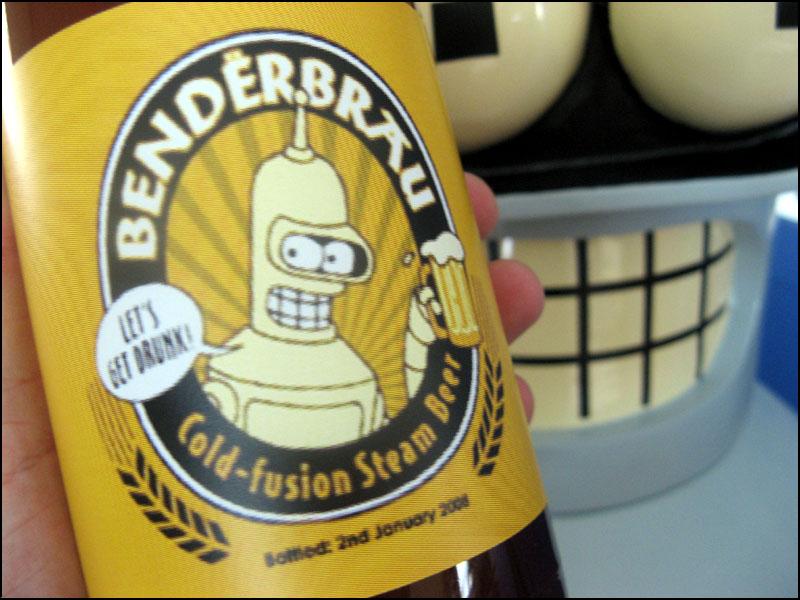
Figure 26. BENDËRBRAU - Let's get drunk!
Now all there is left to do is drink it once it has matured!
Back to page 3